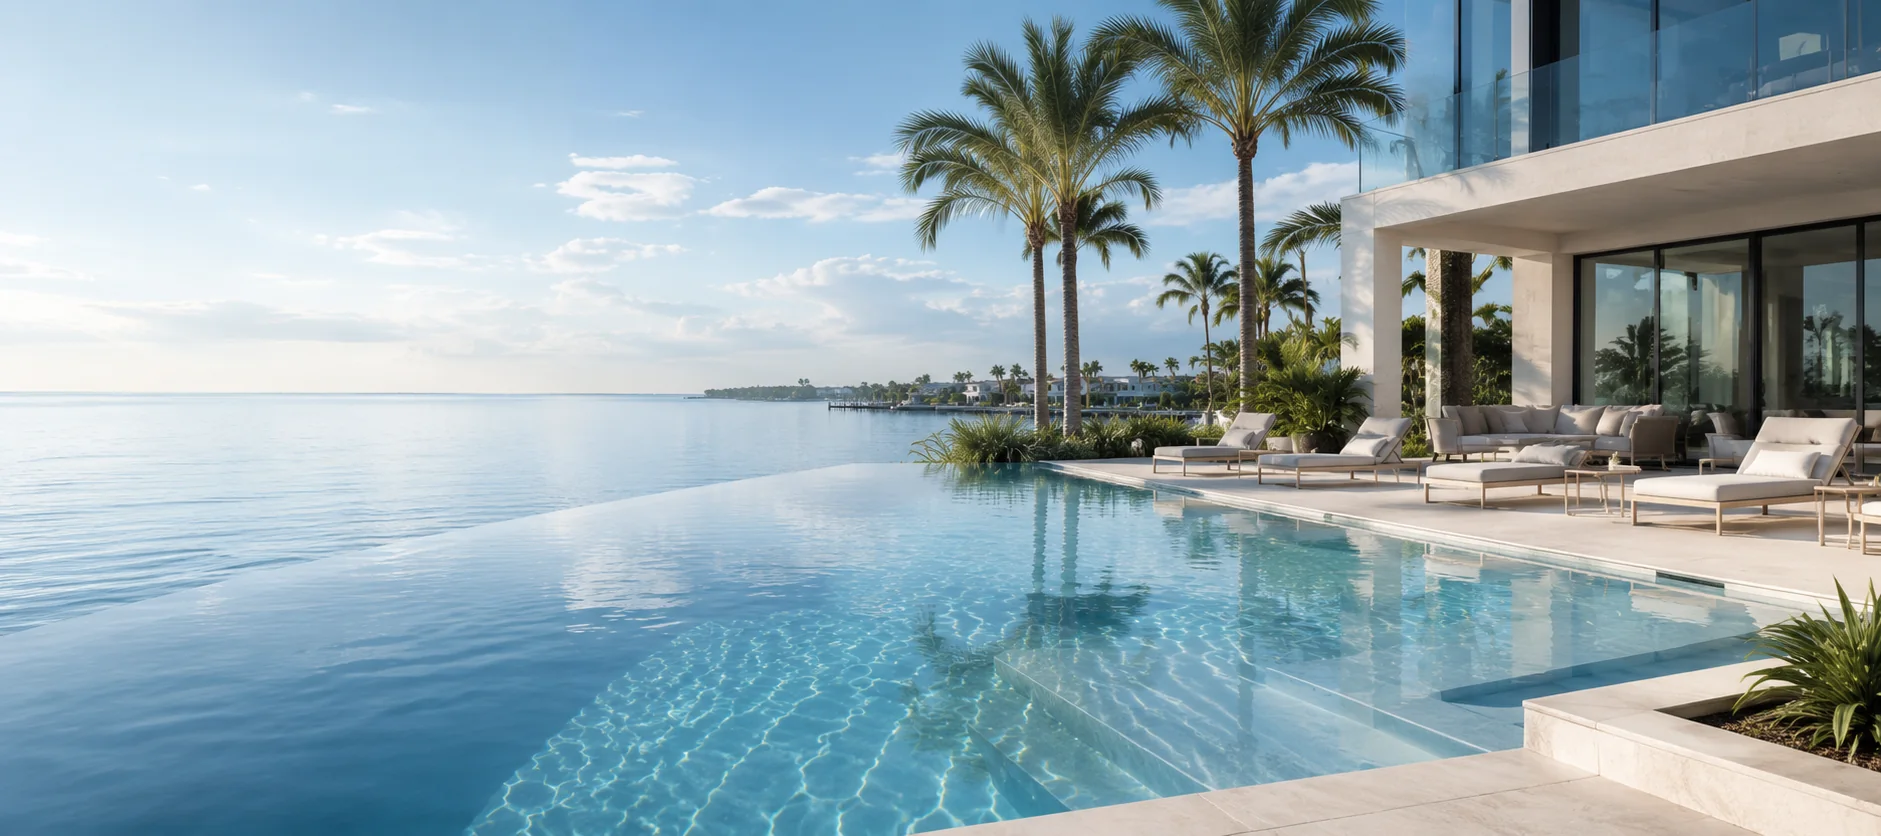
Completed luxury pool built by Avant-Garde Pools and Spas

The Pool Construction Process

From the first conversation to the day you swim, here is exactly how we build a pool. Every step. No shortcuts.

Step 1 of 14 8% Complete
01 Step 1 of 14

Client Interview

The most important part of the process begins here. Your ideas have to be carefully understood, what you need and what you want, because this is the foundation everything else is built on. Careful attention at this stage is what makes the rest of the project come together correctly.

02 Step 2 of 14

Design Phase

We take your ideas and turn them into computerised renderings and videos so you can see the finished pool before a single shovel goes into the ground. This is the most exciting part of the process. Your vision comes to life right in front of you.

03 Step 3 of 14

Engineering, Surveying and Permitting

This is the part nobody gets excited about, but we cannot build without it. The engineers and the permitting process tell us exactly where and how the pool can be built, keeping everything safe, efficient, and fully up to code. It is not the fun part. It is the part that protects you.

04 Step 4 of 14

Dig, Form, Steel

Now things get exciting again. A day or two before we dig, the entire pool layout is spray painted on the ground so everyone can see it and we can make any final adjustments. Once any underground utilities are confirmed clear, we begin excavation. The wood form marks the exact boundary of the pool and supports the steel reinforcement that goes in next. Rough plumbing and bonding wires are installed at this stage, and the first inspections are scheduled.

05 Step 5 of 14

Concrete Day

We build with shotcrete. Nothing matches its performance and long-term durability. A skilled crew works the hole, spraying the correct thickness across every surface, walls, benches, steps, and floor. Once the spray is finished, you can finally see the real shape of your pool. A day or two later the wood forms come down and backfilling and compaction begin. Depending on your municipality, a spot survey may be required at this stage to confirm everything is positioned correctly.

Inspection Checkpoint
06 Step 6 of 14

Plumbing

Every pipe is laid out exactly to plan, from the pool to the equipment pad. Each connection is properly prepared, glued, and routed, then pressure tested using a gauge and manifold assembly before anything is covered with dirt. That pressure stays on the system until the deck is installed, our way of confirming there are no leaks before we move forward.

Inspection Checkpoint
07 Step 7 of 14

Coping and Tile

Once the deck base is compacted and the pool's bonding inspection has passed, coping and tile work begins. Every surface is checked for straightness and accuracy before installation. Waterproofing is selected to match the specific tile being used, because not all tile is the same, and getting this wrong leads to delamination or efflorescence down the line. We do not let that happen.

08 Step 8 of 14

Deck Installation

The deck material you choose determines the layers and aggregate we use underneath it, all selected to keep the surface level and looking right for years. During the final walkthrough the deck is washed, and if you have chosen pavers, sand is brushed into the joints to complete the finish. We do not seal decks ourselves, but we are happy to recommend someone who does.

09 Step 9 of 14

The Cage or Fence Goes Up

A few days before the deck is finished, our aluminium contractor visits the site to take measurements and begin assembling the screen enclosure roof sections. Once the mortar along the deck edge has set, the enclosure goes up, bonding is connected, and it is ready for inspection. If you chose fencing instead, it goes in as soon as the paver crew finishes their work.

Inspection Checkpoint
10 Step 10 of 14

Electrical and Equipment Installation

Depending on your project, the electrical work and subpanel may already be in place from earlier in the build. At this stage the equipment is plumbed in and connected to power, and safety alarms are installed at every required opening, exactly to code.

Inspection Checkpoint
11 Step 11 of 14

Final Preparation

The pool is acid washed and waterproofed up to two days before plaster is applied. On the day itself, our plaster crew mixes the exact colour and material chosen for your pool and spa interior, right there on site. From that point, your pool is ready for water.

12 Step 12 of 14

Filling Your Pool

If you choose tanker truck water, it is scheduled in advance and your pool can be full within a couple of hours. We test every truckload as it arrives to confirm the water chemistry is right from the very first drop. Filling with city water through a garden hose is also possible, but it takes a day or two and is not something we recommend. It can create issues that fall outside what your plaster manufacturer will cover. Ask us and we will walk you through the difference.

13 Step 13 of 14

Pool Startup

The first hours of water in your pool matter more than people realise. Plaster curing has strict requirements that begin the moment water starts filling the shell, and we follow them precisely. This is the stage that determines how your surface performs for years to come, and we do not cut corners here.

14 Step 14 of 14

Salt System and Final Handover

If you have chosen a saltwater pool, the salt is added on day thirty, following the timing recommended by the National Plasterers Council. We follow that guidance exactly. At this point, your pool is ready. Time to enjoy it.

Congratulations. You are now the owner of one of the finest pools money can buy.

Carlos Fernandez Avant-Garde Pools and Spas